How-To’s and Other Useful Watch-Out’s for Your Tiles
Even high-performance tiles need your care to last. So it’s handy to have a few simple preventive measures up your sleeves to keep them looking great.
DAILY
CLEANING

Daily Cleaning
•
Clean and sweep or vacuum your tiles regularly to prevent dirt from building up
•
A mixture of vinegar and warm water is a proven cleaning agent that’s also naturally gentle on tiles but you can also opt for a mild, soapless detergent as an alternative
•
Avoid abrasive cleaning agents to prevent minute scratches from appearing on tiles
•
To remove a stubborn spot, scrub with a paste of bicarbonate of soda and water
•
For remnant grout on tile surfaces, use only trusted grout cleaners to clean it off
PROTECTIVE
MEASURES

Protective Measures
•
Use good mats at doorways to keep out sand and grit which may scratch tiles outside
•
Avoid wearing spiked shoes on high-gloss or glazed tile floors as they may hurt your tiles
•
Use rubber gliders under furniture which may damage the surface of the tiles when dragged
•
Avoid dropping heavy objects on to the tiles
•
Be careful of gold and silver finishes on your tiles as they’re delicate and vulnerable to abrasive cleaning methods
PROACTIVE
STEPS

Proactive Steps
•
With wear and tear, one or two tiles may chip or crack, so always keep spares as you may not be able to find the same ones later
•
When laying tiles, ensure the tiler lays them evenly with no edges protruding up, and beds the tiles into the adhesive with no voids under the tiles
•
Always go through the tiles in the batch you’ve purchased with your tiler to ensure that flawed tiles are put aside, not accidentally installed
•
As the walls of your house move against each other with fluctuating temperatures, remember to check if the flexible sealant put in to accommodate these movements have become brittle or come away with age. If so, remember to replace them to prevent moisture from leaking through
What to Do When This Happens
1

Dirt & Stains
Concern
Why do my tiles get dirty or stained very easily?
Causes
•
Grout haze — Remnant grout that has trapped dirt on tile surface over time
•
Residual detergent — Improper rinsing will cause detergent residue to dry on tiles and trap dirt, causing them to look white
•
Improperly sealed tiles — Tiles that haven’t been properly cleaned or sealed during installation or usage of an inferior sealant
•
Spill — A spill that has been left on the tiles for too long can stain and penetrate the sealant
Solutions
Grout haze and residual detergent build-up:
•
Clean with a heavy-duty tile and grout cleaner and rinse off thoroughly. Otherwise, try a phosphoric acid cleaner with poultice Improperly sealed tiles
•
Carefully remove stains with a poultice, water and a white nylon scouring pad
•
Clean with heavy duty tile and grout cleaner
•
Seal only with reputable sealant in the market
2
-
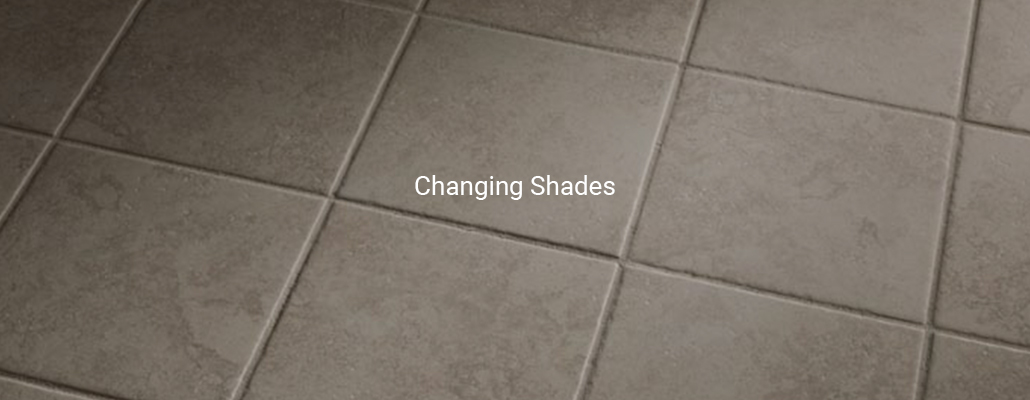
Changing Shades
Concern 1
Why do some tiles of my tiles look darker than the rest?Causes
Leak and excess moisture due to:
•A leak in the pipes behind the wall or failed water-proofing in wet areas•Taps that haven’t been water-proofed and sealed where they meet tiles•Constant flooding on floor due to bad drainage•Cracked or dislodged tile groutSolutions
•Call plumber to check for leaks in the pipe-work or tap-ware•Get tiler to repair faulty grouts or silicon joints that might be causing the leak•Ensure drainage system in shower areas is working properly•Never let water collect and pool on tiles for extended periods of time -
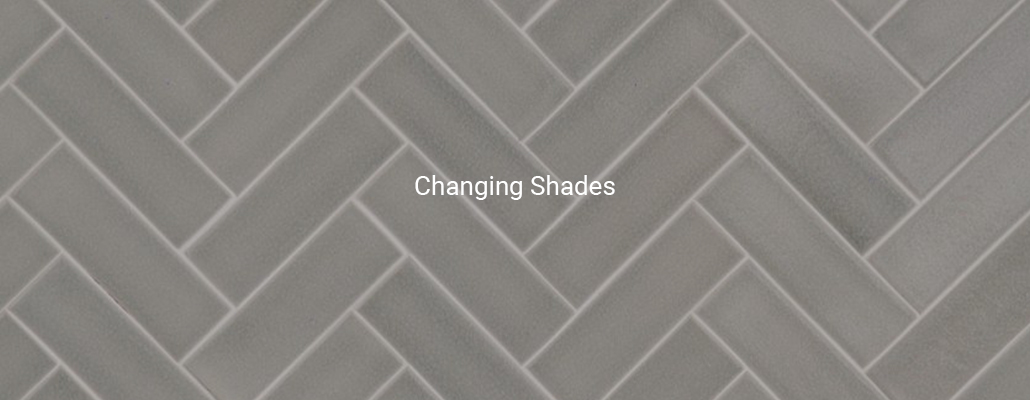
Changing Shades
Concern 2
Why are of my tiles fading in colour?Causes
•Harsh acidic and alkaline detergents can cause tiles to fade over time•Soap build-up in shower recesses or improperly cleaned grout haze can trap remnant soap and lead to faded lookSolutions
•Replace faded tiles•For prevention, use pH-neutral detergents (sparingly), and use only warm water
3
-
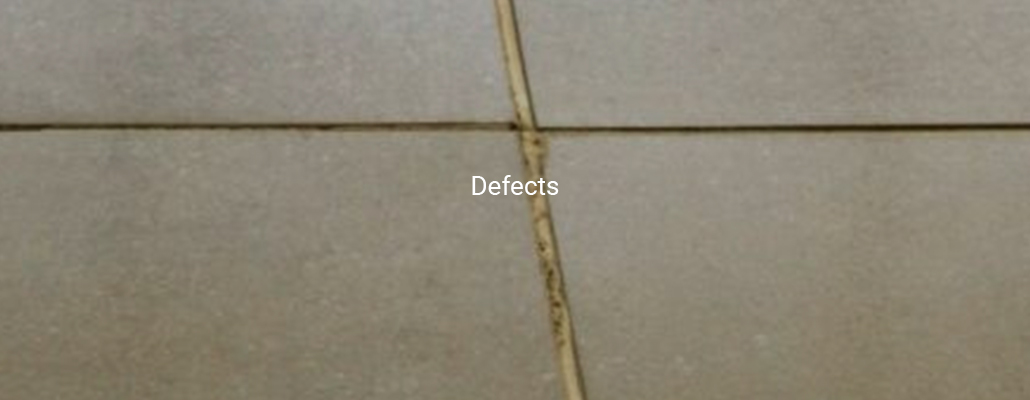
Defects
Concern 1
Why do some of the tiles I’ve installed look imperfect in parts?Causes
Lack of quality control by tiler before installation, or tiles that have slipped past sorting and grading process in factorySolutions
•Before installation, talk to us about replacing affected tiles•Examine your purchases prior to installation to avoid installation of faulty tiles -
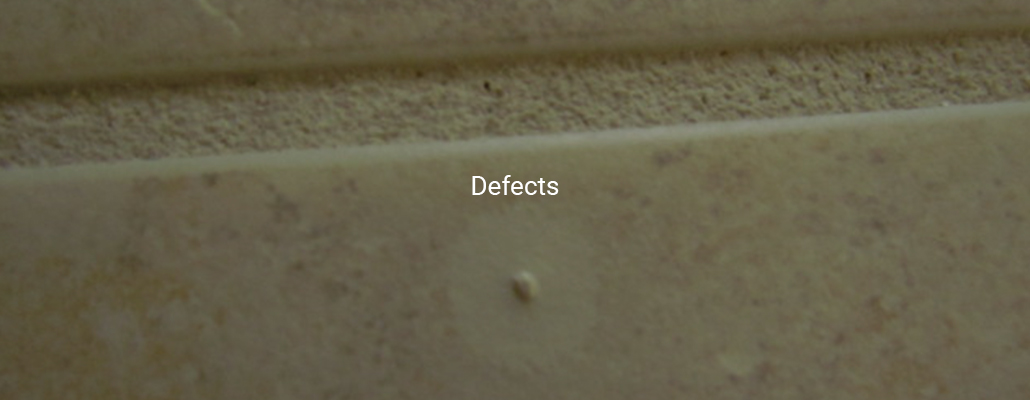
Defects
Concern 2
Why are there tiny spots or marks on my tiles?Causes
‘Tile blisters’ — These are tiny discoloured spots or marks on tiles which can sometimes slip past sorting and grading process in factorySolutions
•Avoid using affected tiles; check with us for replacements prior to installation•Buy spares beforehand so you’ll have options available during installation
4
-

Scratches & Chipping
Concern 1
Why do my tiles have scratches?Causes
Incidental scratches caused by friction between tiles during the journey between showroom and destinationSolutions
•Speak to Johnson Tiles for replacements prior to installation•Ensure tiler doesn’t install these tiles•For light scratches on installed tiles, engage a glass repair service to remove them -

Scratches & Chipping
Concern 2
Why are my tiles chipped in places?Causes
•Hard object that has been dropped or hard knocks caused by heavy objects•Dragging of furniture with feet that aren’t capped with protective rubber•Stones trapped in the soles of shoes that chip tile surfaces•Imperfect glazingSolutions
•Remove affected tiles and replace them with new ones•If chipping is due to imperfect glazing, call Johnson Tiles for assistance during installation
5
-
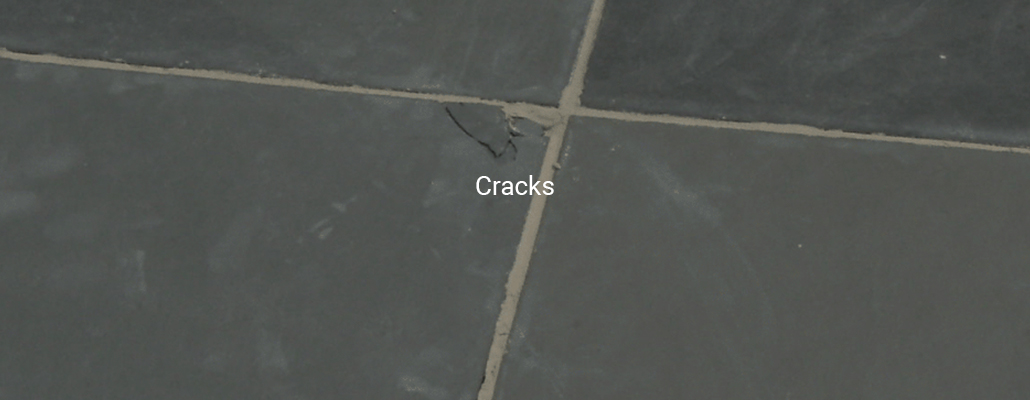
Cracks
Concern 1
Why are my tiles cracked in the corners?Causes
Tiles with ‘firing cracks’ on them are faulty tiles that have slipped past factory sorting and grading processSolutions
•Do not install these tiles; talk to Johnson Tiles for replacements•If some have already been installed, have your tiler replace them before installation’s completed -
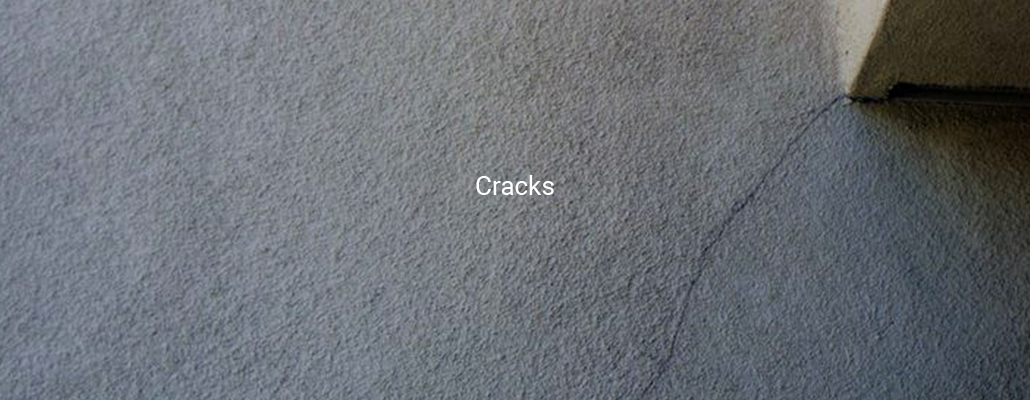
Cracks
Concern 2
Why are there cracked lines across my tiled floor?Causes
•Foundation ‘rod stress’ that occurs during the curing process of fresh concrete upon which tiles are laid•Excessive movement in substrate caused by faulty installation of concrete foundation•Absence of expansion joints along meeting point of two different surfaces, causing movement to travel through surface of tilesSolutions
•Replace damaged tiles•Ensure tiler makes allowances for substrate movements with correct adhesives and expansion joints•If allowances have been made, tiler needs to ensure joints used have been brought all the way to tile surfaces right from the start
6
-
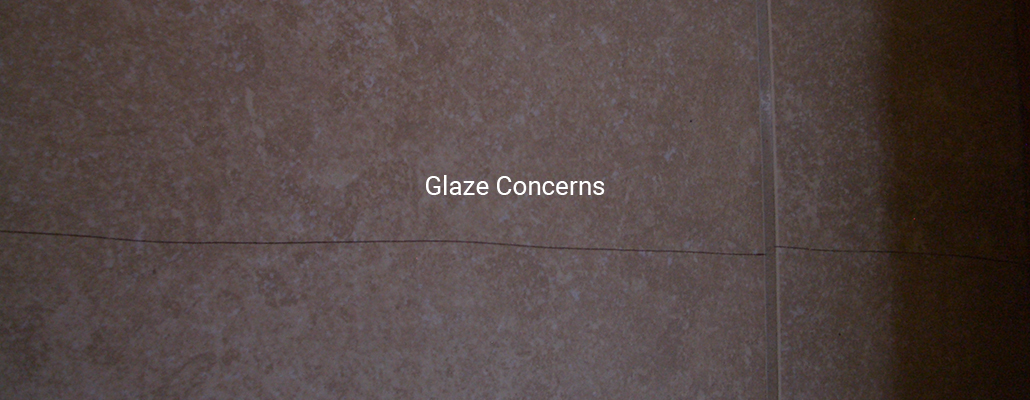
Glaze Concerns
Concern 1
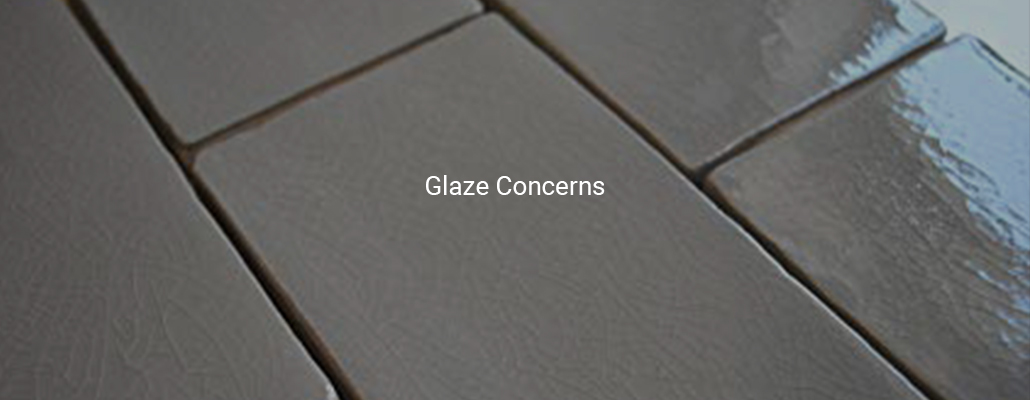
Why do my glazed wall tiles have hairline cracks on them?Causes
•‘Crazing’ — A phenomenon when the two materials used in making the tile bond during the firing process•Continuous movement of a substrate or structural wallSolutions
•Replace tiles if there’s enough of crazing to dissatisfy you•If caused by movement in the substrate or structural wall, enlist the help of your contractor -
Glaze Concerns
Concern 2
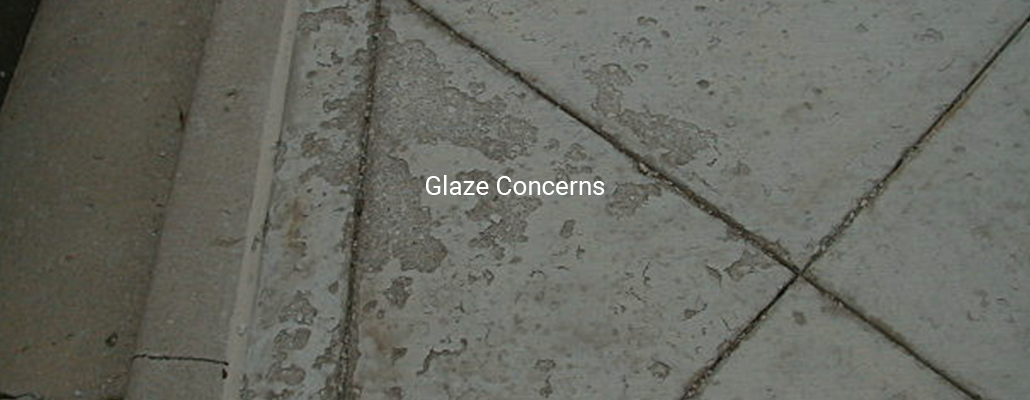
Why is the glaze at the edge of my tiles missing?Causes
Flawed tiles have accidentally slipped past sorting and grading process at factorySolutions
•Check purchase and ensure tiler doesn’t accidentally install affected tiles•Get replacements from Johnson Tiles; make a note of the batch number of your purchase in order to get new ones that match -
Glaze Concerns
Concern 3
Why is the glaze on my tiles flaking off?Causes
Kilns contaminated with dust have created bubbles in the glaze during firing processSolutions
•Avoid laying affected tiles; get replacements from Johnson Tiles•Make a note of the batch number of your purchase in order to get new ones that match
7
-
Grout Matters
Concern 1
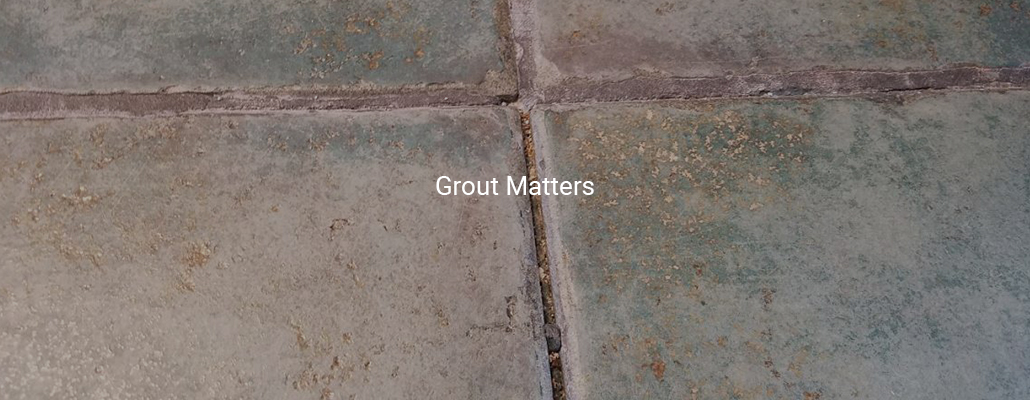
Why has my grout gone crumbly and soft?Causes
Poor mixing and application that lead to ‘hydration’ syndrome, especially if tiler:
•Doesn’t wet the joints before applying grout•Doesn’t fill whole grout joint and compress it into joint when grouting•Uses old grout that’s past its expiry date or shelf lifeSolutions
•Ensure tiler wets the joints between tiles before installation to slow down hydration process•Use rubber trowel and firm sweeping action across tile joints to compress grout into joint•For crumbly grouts, scrape off old grout with grout rake and apply new grout mix properly -
Grout Matters
Concern 2
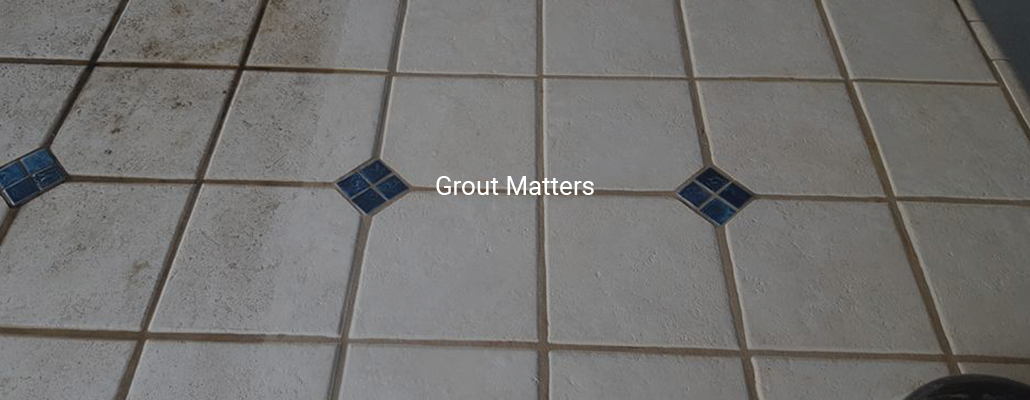
How did my grout become dark?Causes
•Dirt from feet or water as well as detergent residue have collected in grout joints over time•Mould has accumulated due to continued exposure to damp or wet conditionsSolutions
•Scrub off grime in tile grouts with dependable, heavy-duty grout cleaner•Once thoroughly clean and dry, apply grout sealant to make it water-resistant and easy to clean
7
-

Loosening & Buckling
Concern 1
Why do my floor tiles seem to be popping up?Causes
•Incorrect use of adhesive by tiler over concrete slab that’s still curing•Lack of allowance made by tiler for substrate expansion around perimeter of tiled area•Incorrect installation of movement jointsSolutions
•Engage tiler to ensure movement joints can travel through tile and adhesive to the substrate•Ensure movement joints are fully filled with flexible silicone or rubber compound•For prevention, speak with tiler or Johnson Tiles before installation -

Loosening & Buckling
Concern 2
Why do my wall tiles sound hollow and seem about to fall off?Causes
•Uneven application of adhesive behind tile base by tiler•Installation done under very hot conditions and adhesive, left on wall too long prior to installation•Water leakage behind tiles have caused adhesive-erosionSolutions
•Contact tiler to rectify flaws if wall tiles sound hollow upon installation•If hollowness only surfaces after a while, post-installation, get tiler to inspect for possible substrate damage


